このセクションでは、デバッグノードを使用して、rpa 検出器ノードを設定し、それが発火したときに渡されるメッセージを確認する方法を学びます。
まず、彼らのNode-REDインスタンスに移動します。
備考
Node-REDインスタンスの設定方法については、Node-REDへの初回アクセスに進んでください。
Node-RED を通して Detector を使用するのはとても簡単です。まず、「Detectorの設定」セクションにあるように、ユーザーは事前にDetectorを設定しておく必要があります。
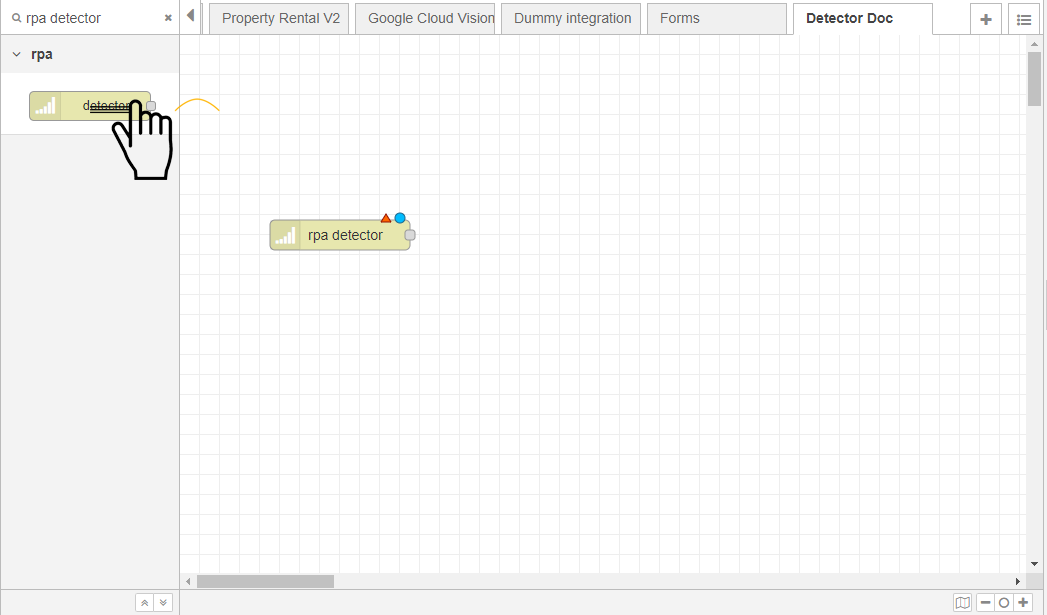
rpa 検出器ノードを実行フローにドラッグします。
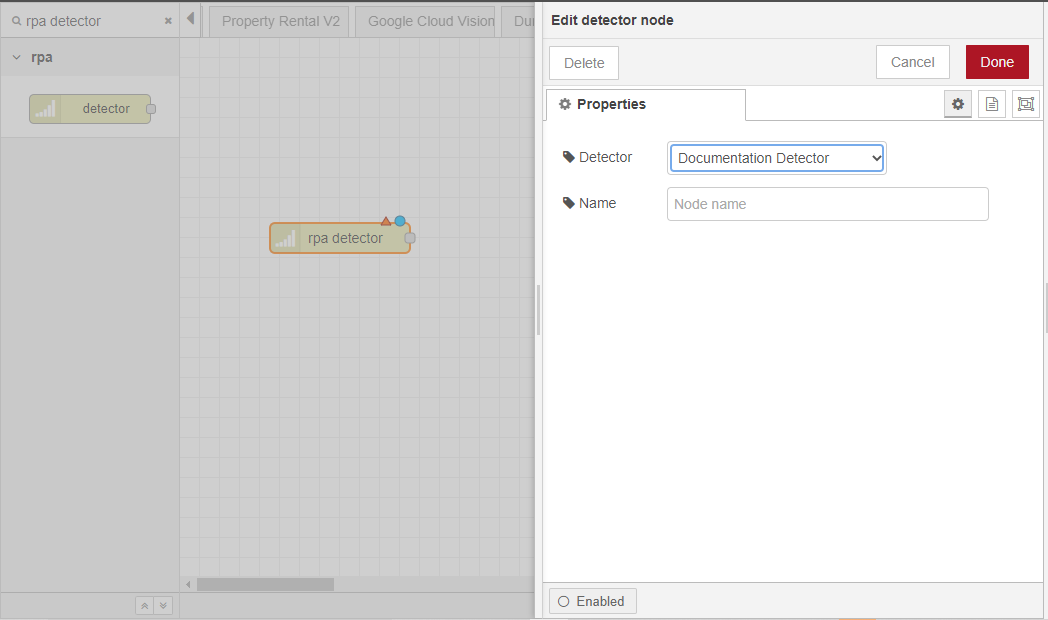
次に、rpa 検出器ノードをダブルクリックして、実行フローのトリガーに使用する検出器を設定します。この例では、「検出器の設定」セクションで設定した「ドキュメント 検出器」を使用します。
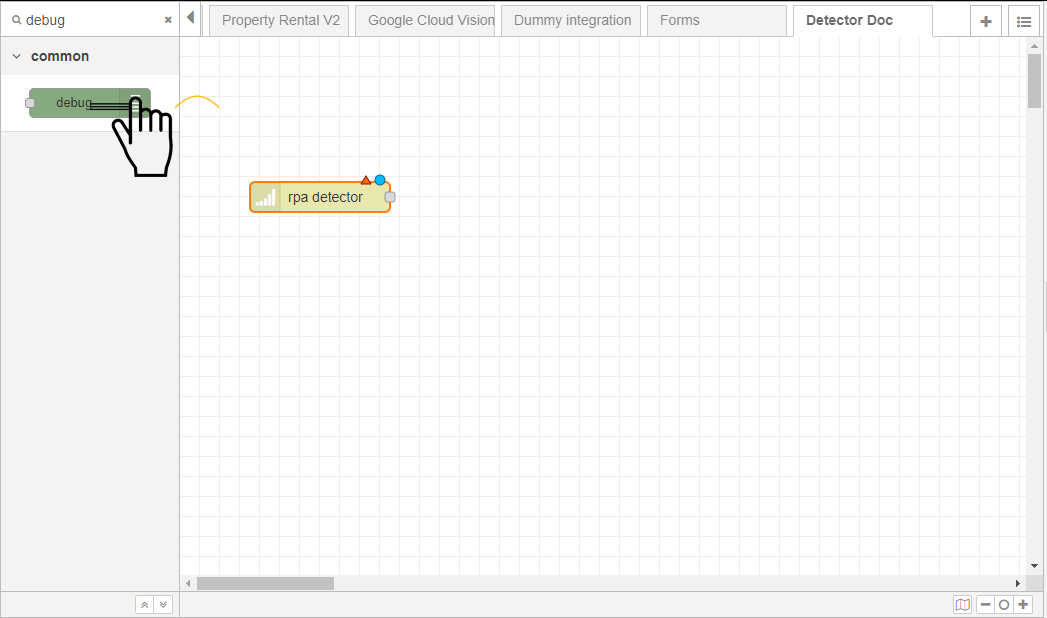
デバッグノードを実行フローにドラッグします。
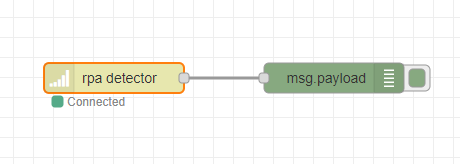
Ctrlキーを押しながら両方のノードのポートをクリックして、デバッグノードと先に設定したrpa ディテクタを配線します。
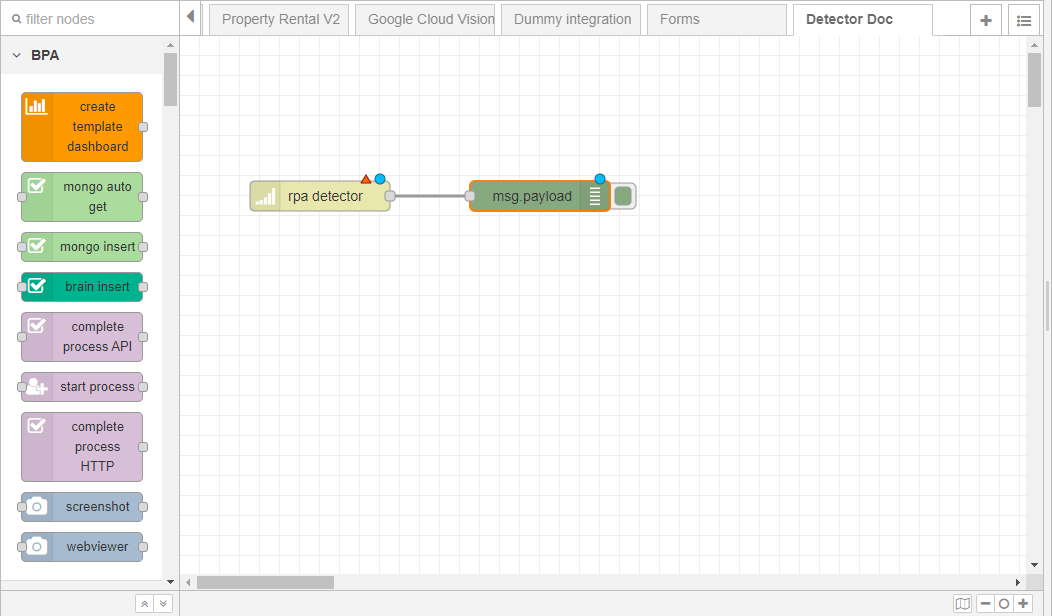
最後に、[Deploy]ボタンをクリックして、変更を保存します。ノードの下にConnectedと表示されたステータスバーが表示されるはずです。
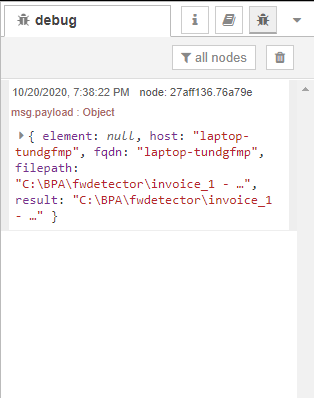
Detectorが動作しているかどうかを確認するには、ユーザーはフォルダ内にファイルを挿入してDebug messagesボタンをクリックするか、Ctrl-g-dを押すだけでよいのです。