
ここでは、OpenRPAが終了するまで無限に稼働し続けるDetectorの使用方法について説明します。
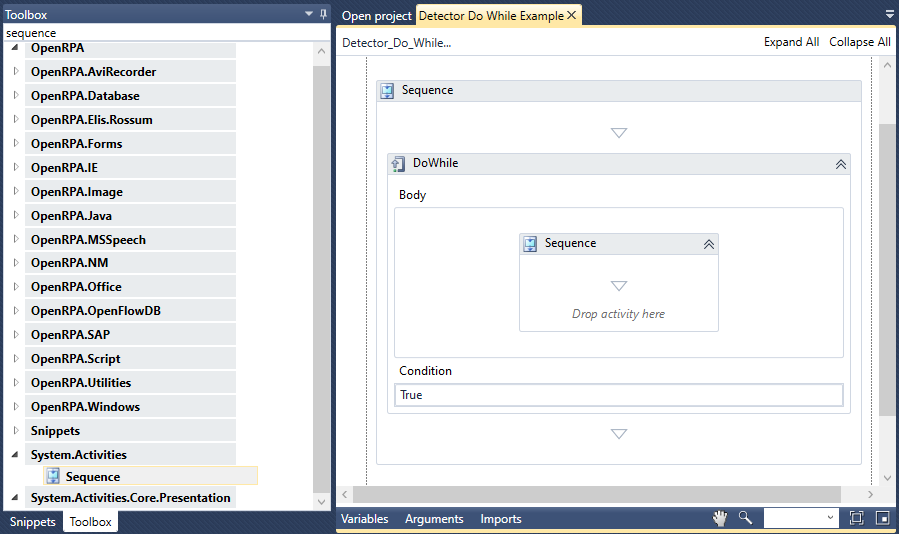
OpenRPA内のメインシーケンスにDo WhileActivityをドラッグします。そのConditionパラメータをTrueに設定します。

ここでユーザーは、Do Whileアクティビティの中にSequenceアクティビティをドラッグする必要があります。
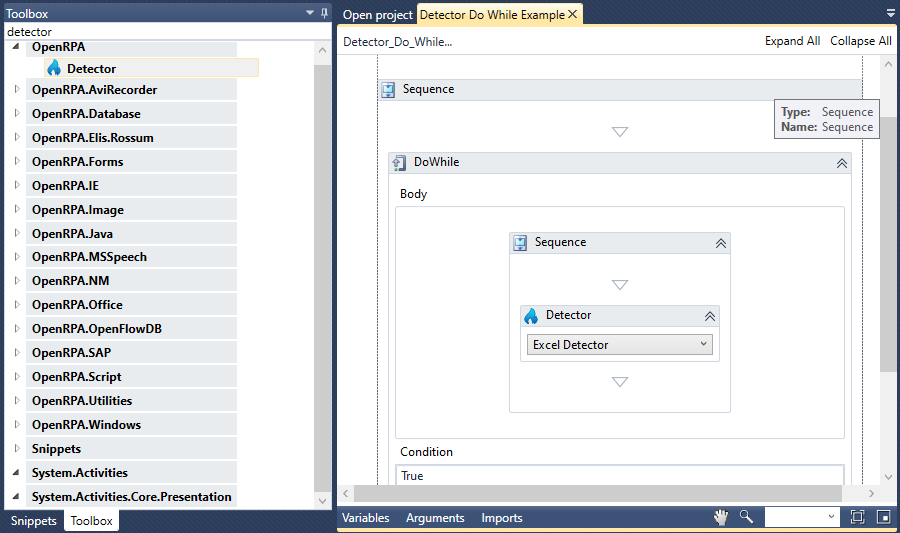
Detectorアクティビティをシーケンスに追加し、起動するDetectorを選択します。この例では、Excel Detectorを選択します。
これで、ユーザーはOpenRPAに実行させたいアクティビティやシーケンスを追加でき、検出器の発火と同時に実行されるようになります。