セレクタに変数を渡すのはとても簡単です。ユーザはMustache(https://mustache.github.io/mustache.5.html) 構文を使って既存のパラメータに値を追加するか、セレクタの内部でカスタムパラメータを使用することができます。
この例では、Recorder を使って Google Search ページ内の要素をキャプチャし、既存のSelectorパラメータに追加する変数を渡します。
ユーザーは、Google(https://www.google.com/)のメインページで検索したい検索入力を自由に入力することができます。この場合、作者はrabbitmqを選択しました。

ここで、ユーザーはOpenRPAを開き、新しいワークフローを作成する必要があります。筆者は「Manually Adjusting Selectors」と名付けました。
Sequenceの中をクリックし、OpenRPAのリボン内にあるRecorderボタンをクリックします。次に、ページ内の要素内をクリックします。

ユーザーがInternet Explorerを使用している場合は、新しいOpenRPA.IE.GetElementActivityが表示されます。一方、ユーザーがEdge、Chrome、Firefoxを使用している場合、新しいOpenRPA.NM.GetElementアクティビティが表示されます。
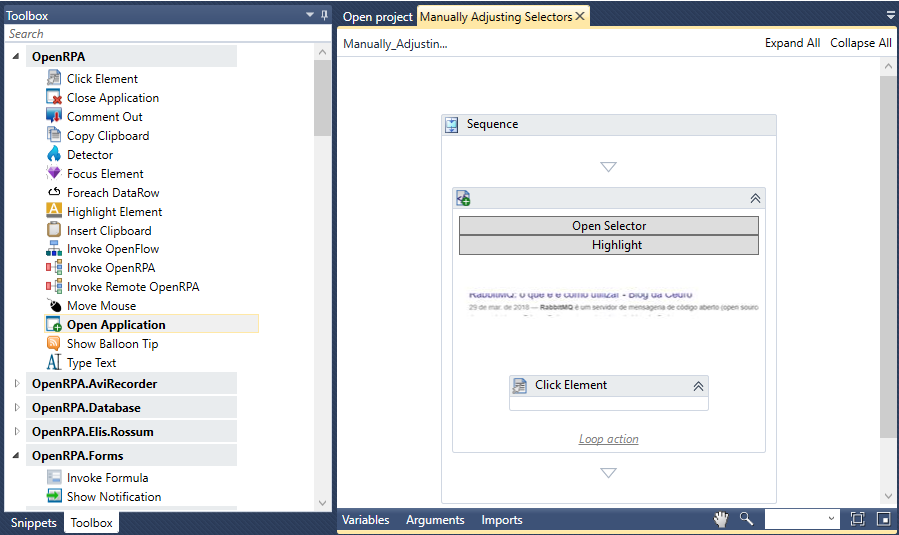
ここで、ユーザーは「セレクタを開く」ボタンをクリックする必要があり、セレクタ デザイナーが表示されます。
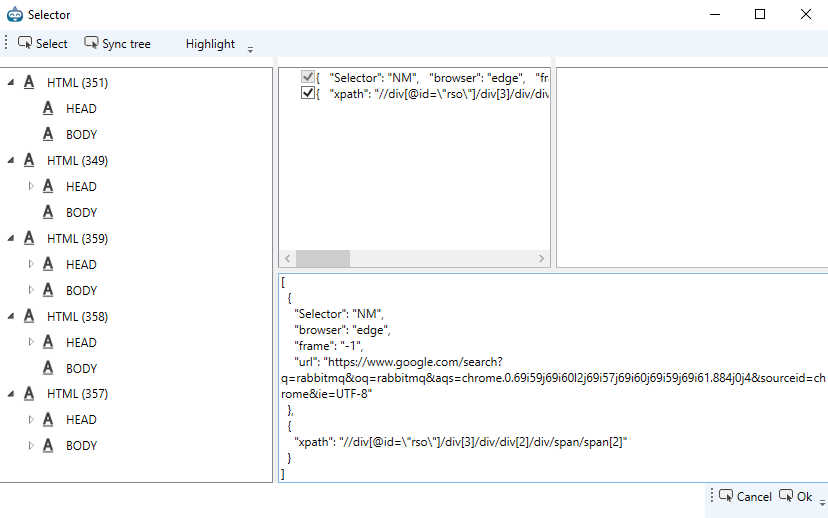
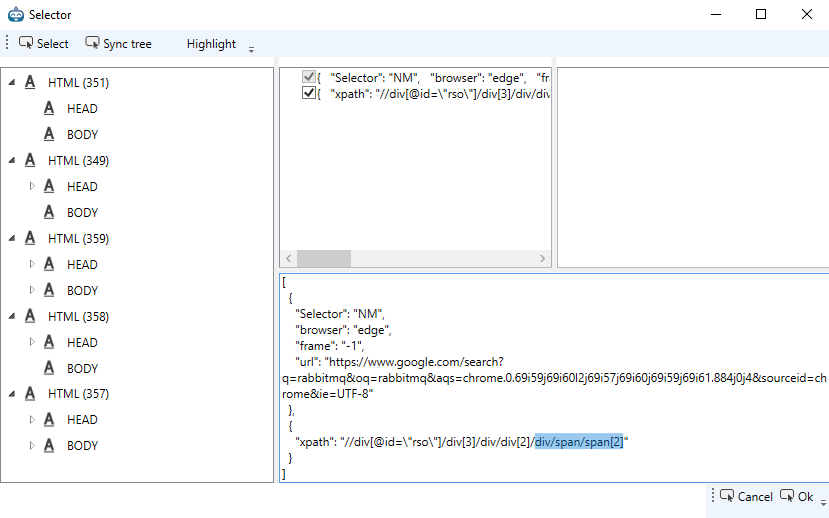
現在、ユーザーはxpathパラメータの一部のみを置き換えることになります。xpathパラメーターのdiv/span/span[2]部分を取り除き、取り除いた値を代入する変数名を含むMustache 式 を 追加します。著者はその変数の名前をselectorValueにしたので、Mustache 式は {{selectorValue}} になる。
この後、ユーザーはOkボタンをクリックしてセレクタ デザイナーを閉じることができます。

ここでユーザーはこの変数に値を代入する必要があります。値はxpathパラメータから取り除かれた値ですが、何でもかまいません。
操作の可能性は無限大。CSS セレクタを使うこともできます。詳しくは「CSSセレクタの使い方」をご覧ください。
Assignアクティビティをメインシーケンスにドラッグし、GetElementアクティビティのすぐ上に置きます。selectorValueという名前を付けて、前に取り除かれた値、つまり「div/span/span[2]」を代入してください。Ctrl+Kキーを押して、変数を作成します。
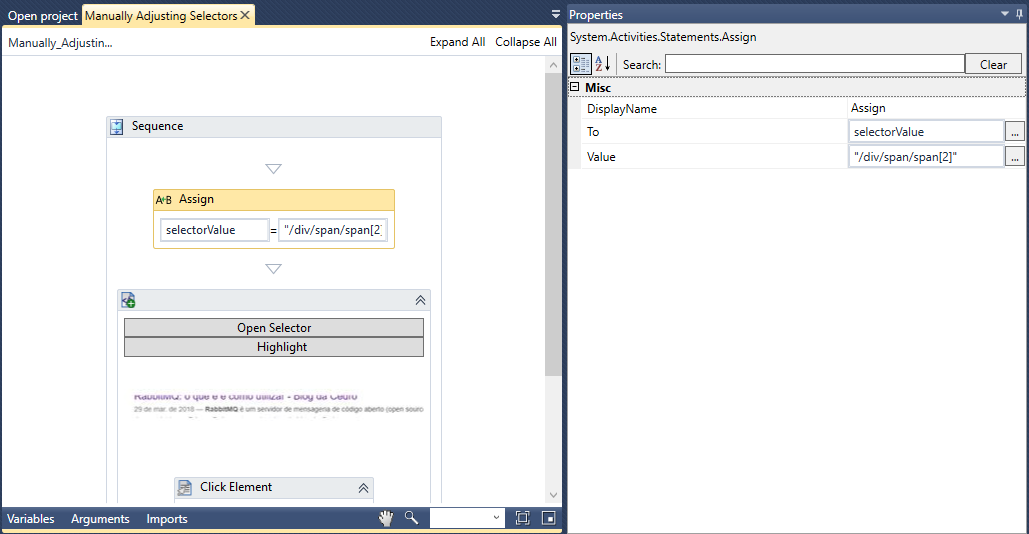
ここで、GetElementアクティビティのSequence内のClick Elementアクティビティを削除し、その中にAssignアクティビティをドラッグして、値が本当にキャプチャされたかどうかをテストできるようにします。
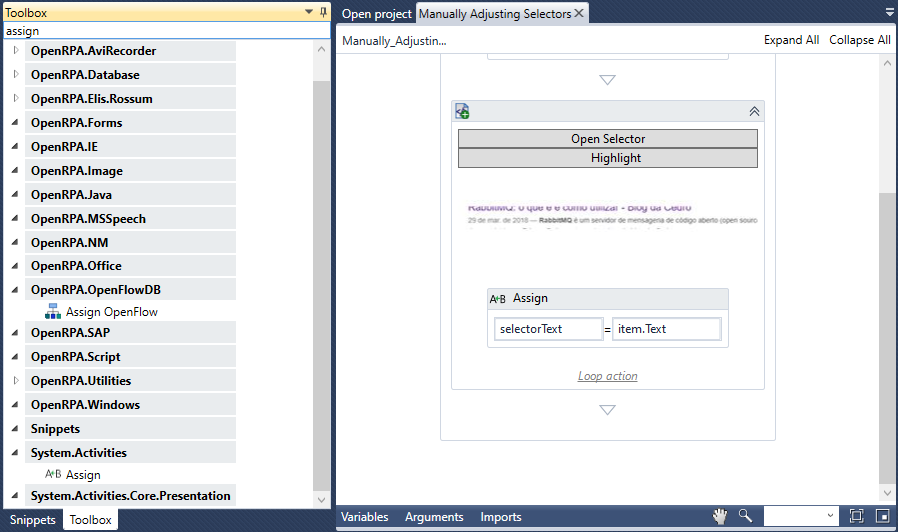
selectorTextという変数に名前を付ける – これは完全に任意の値で、ユーザーは実際に好きな名前を付けることができます。
この変数にitem.Textを代入します。
最後に、「通知を表示」アクティビティをメインシーケンスにドラッグし、その「メッセージ」入力フィールドにセレクタテキストを挿入します。
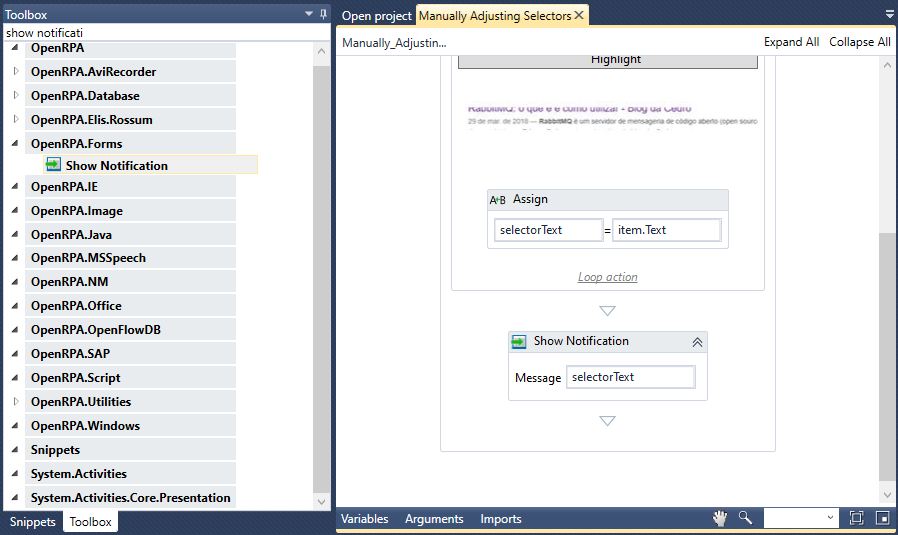
今、ワークフローを実行すると、取得したメッセージを含む通知が表示されます。