
このセクションでは、OpenFlow でフォームを作成する方法を学びます。フォームが何なのか分からない場合は、フォームのセクションを参照してください。
まず最初に、"Hello from OpenFlow!“など、ユーザーが挿入した入力をNode-REDに渡すためのフォームを設定します。
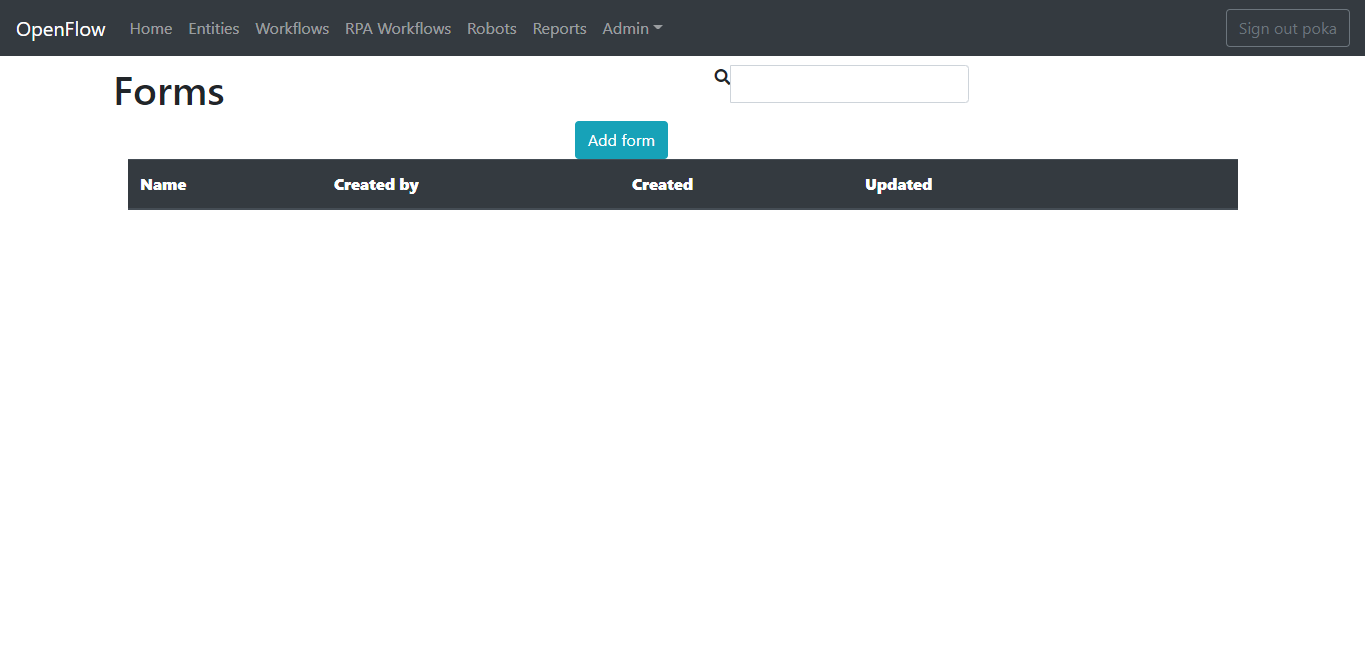
Forms ページ(デフォルトはhttp://demo.openiap.io/#/Forms )に移動し、Add Formボタンをクリックします。
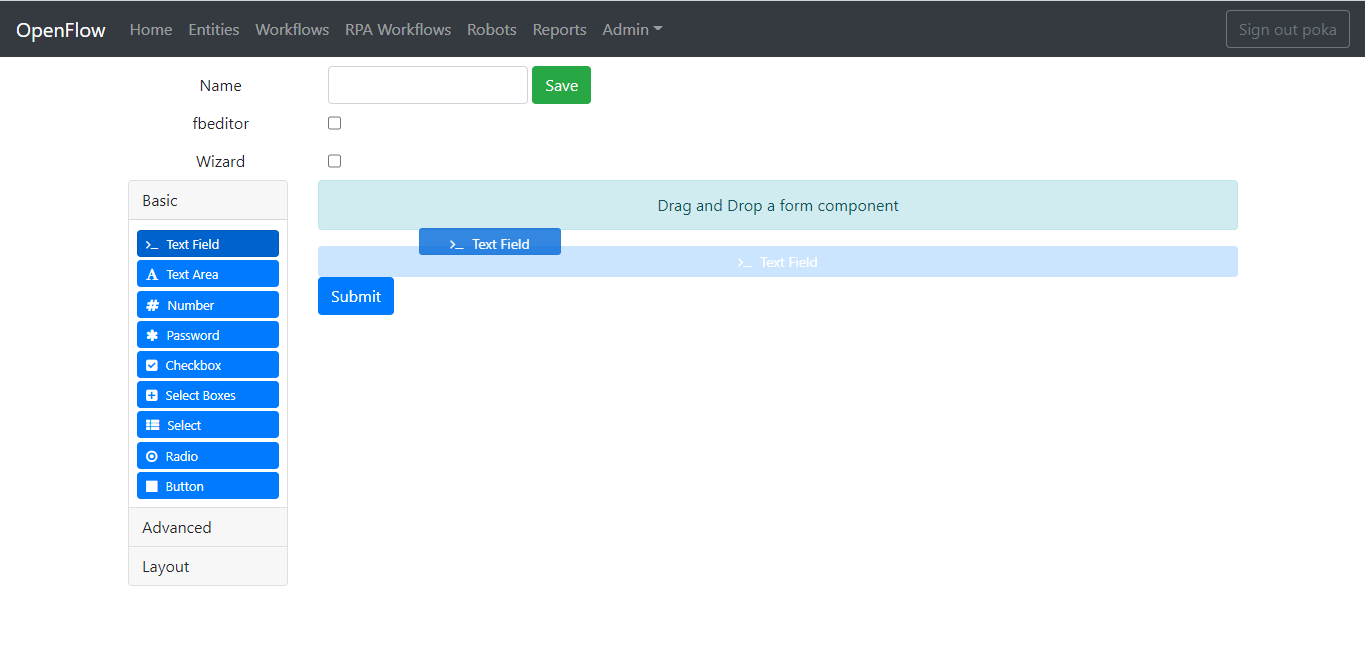
次に、テキスト フィールドのフォームをフォームデザイナにドラッグします。
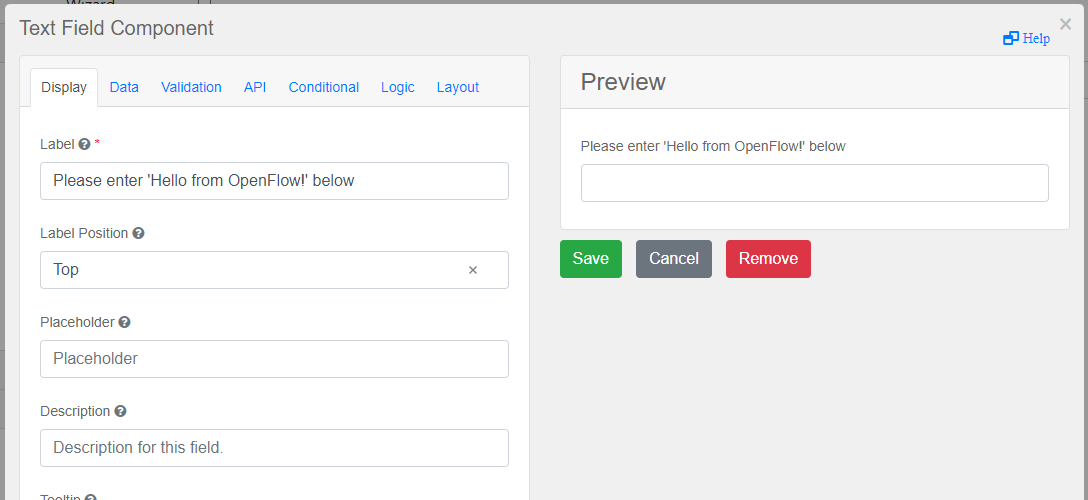
LabelパラメータをPlease enter 'Hello from OpenFlow!' 以下に変更します。
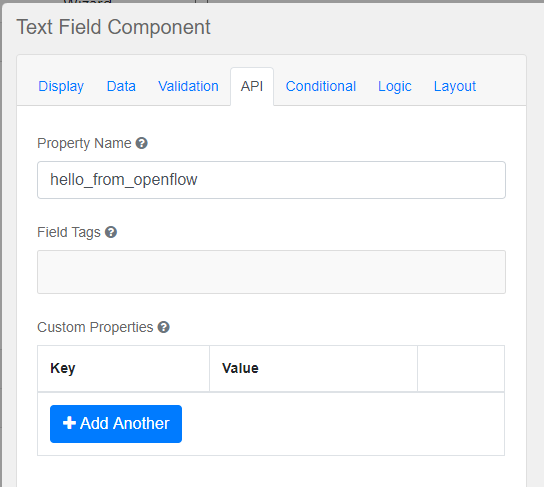
APIタブをクリックし、Property Nameパラメータをhello_from_openflowに変更します。 これがNode-REDに渡される変数になります。
最後に、「保存」ボタンをクリックします。

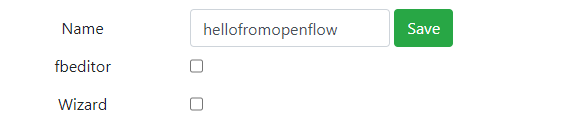
Form名をhellofromopenflowとし、Saveボタンをクリックして保存します。
これで完了です。これでOpenFlowでFormを構成することに成功しました。次のセクションで、Node-REDでどのように設定するかを見ていきましょう。