
ここでは,フロー実行時の出力を確認するためのデバッグノードの追加方法について説明する.
3つのデバッグノードをワークスペースにドラッグして、Excel Workflowノードに配線します。
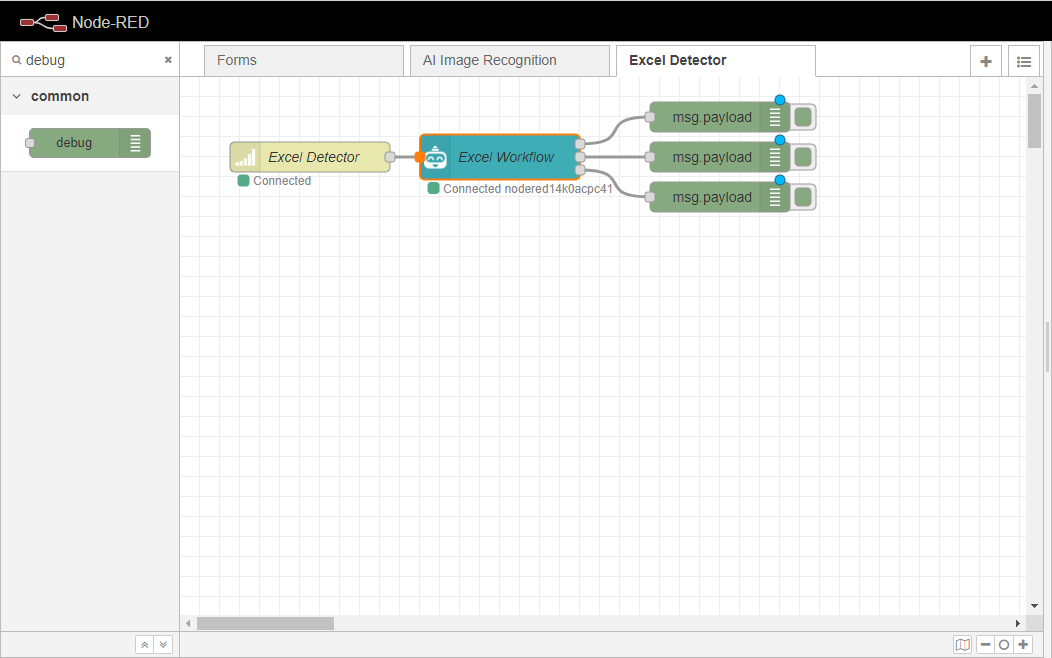
これで、OpenRPA内のDetector設定タブで定義したフォルダ内にファイルをドロップすることで、Flowをテストすることができます。
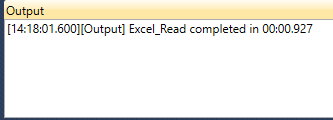
OpenRPAワークフローの実行後、ユーザーはワークフローが正しく実行され終了したことを確認することができる。
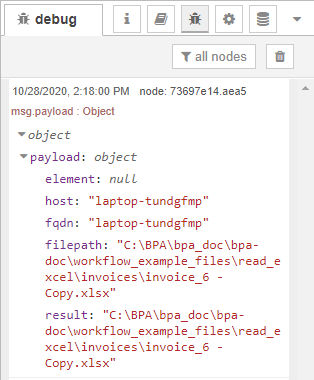
デバッグ出力メッセージはNode-REDにも表示され、ファイルが正常に検出されたことが指定されます。
これで、このワークフローの例は終了です。